- Dec 9, 2020
A few weeks ago, I had never before created 2D digital art. However, when Billy told me he wanted a world map for Snavi, I knew it was time to venture out to foreign lands.
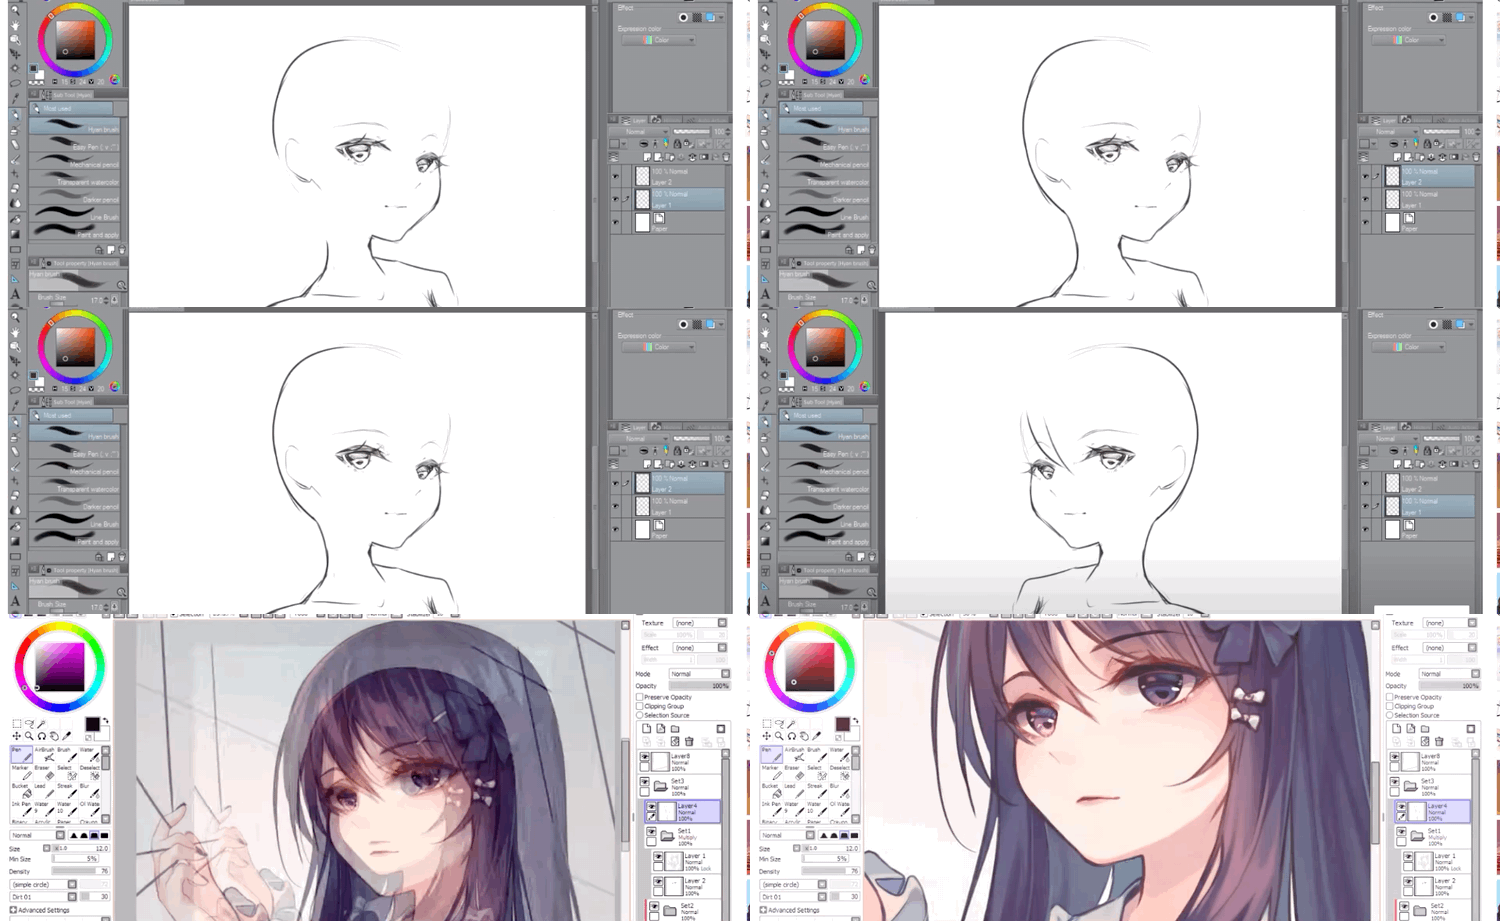
Coming from a background of 3D modelling, I found that the most intimidating part of creating 2D art is the lack of control. How anyone can draw on a tablet or with a mouse, I will never know. However, it turns out that with the right tool, you don't have to worry about the lack of control - you can just leave that part to algorithms and code.
Seriously...how do people do that?
Vector images are images defined by mathematics. Since math is not bound by pixels, neither are the vector images. As a result, vector images will always appear crisp, no matter how much you zoom into them. In addition, since they are defined by mathematics, you have better control over the final result.

A beautiful summary of the difference between raster images and vector images. https://lasergods.com/vector-vs-raster/
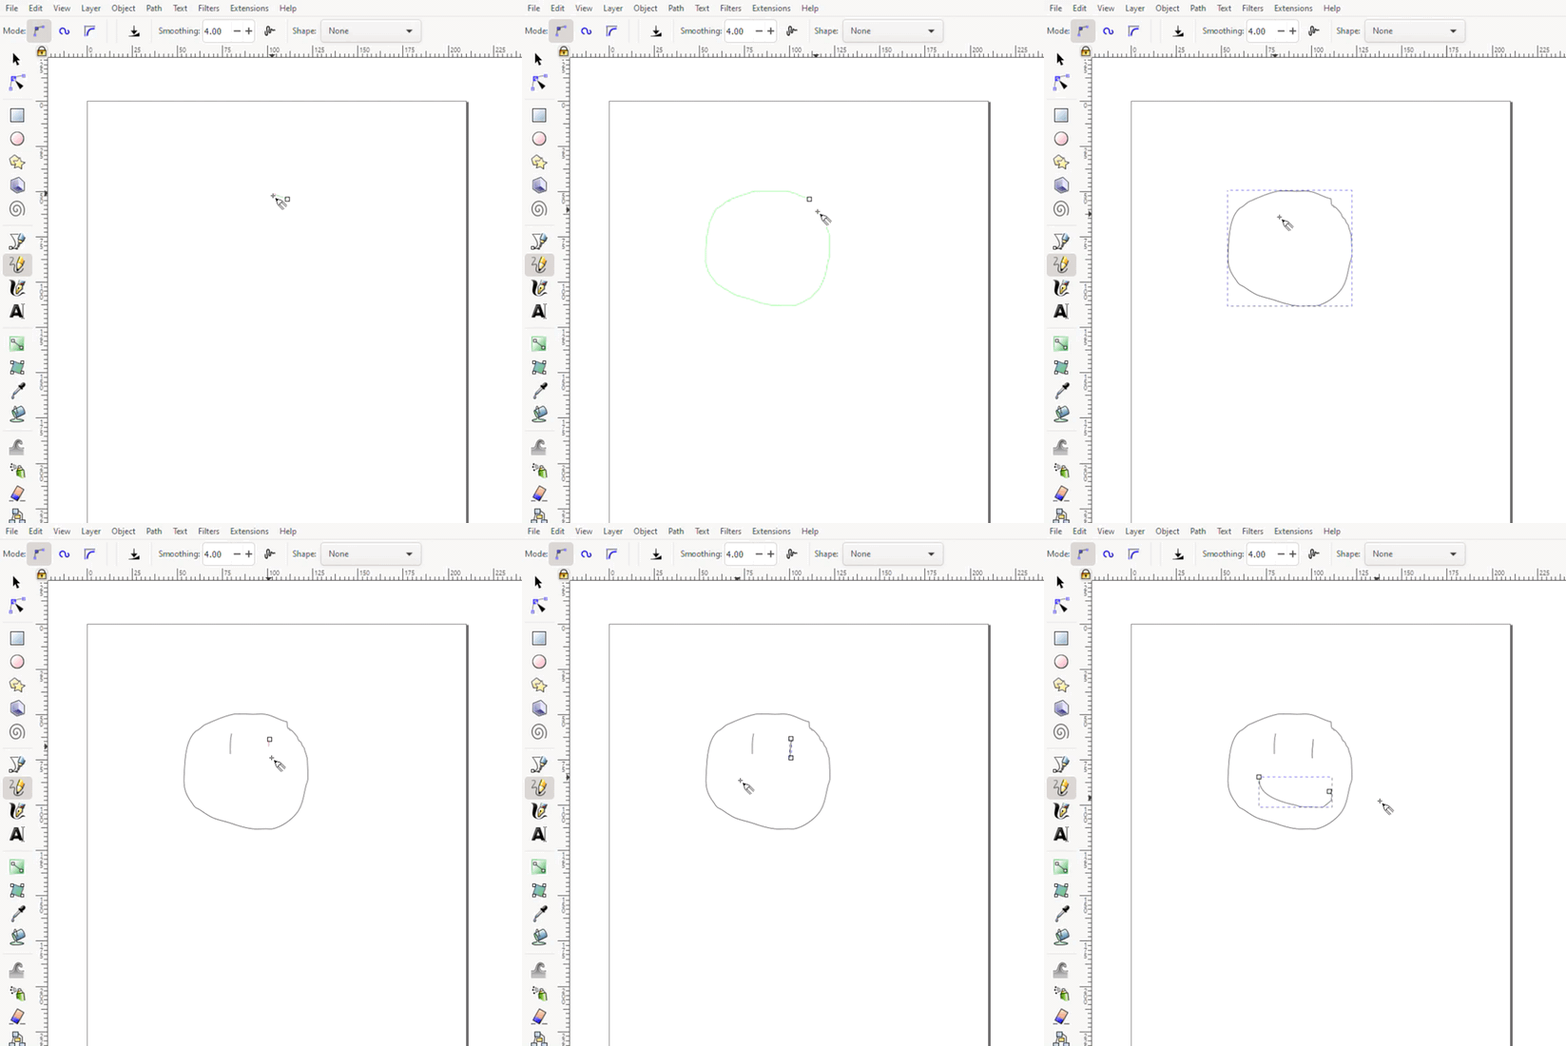
Inkscape is a vector image creation tool. The most important tool you'll probably work with in Inkscape is the Bezier tool. The Bezier tool allows you to create smooth, finely tuned curves (Bezier curves are a lot of math - fortunately you don't need to worry about any of that! Inkscape takes care of the math for you), and with enough of those curves, you can create a nice, crisp, complex image without too much trouble on your part.
This pretty much sums up why you should use the Bezier tool instead of freehand.
There are plenty of Inkscape tutorials out there, so I figured I could just share some tricks I learned when creating the Snavi world map.
Shadows and Reflections
This is the most important skill to learn for any artist. Without shadows and reflections, there will be no depth to the art, and you'll end up with a flat image. So how does one do shadows and reflections in Inkscape? With layers!
Consider the following images of the lava pit in Snavi. It's fairly easy to tell which has greater depth.
To transform from left to right, simply create more layers of the left curve, resize and fill them with different shades, and then rearrange them to give the desired shadows/reflections.
"Modelling" Assets
What about more complicated pieces? My main advice is this - Don't Start From Scratch. Seriously, don't. Bezier curves are probably not the best method for bringing the image from your mind straight onto the screen.
Instead, what you probably want to do is find reference images or draw them and then import them into Inkscape, especially if you don't have much artistic experience. You can then trace out the images with the Bezier tool. Once you have a rough sketch, you can let your imagination go free to shape the curves to align with the images in your mind.
Yeah...I didn't freehand these. I didn't freehand any of them really. But art doesn't have to start original to end original :-)
That's all. I hope someone finds this useful. ^_^
So if you haven't already, go check out Inkscape! It's free and could be very useful for designing your games!
Well we did it! After months of polish and shine, our first game Snavi is finally up on the Apple iOS app store! It's completely FREE! We are so excited to be sharing this with the world!

Seeing this screen makes us so happy! The game is actually released!
Well, okay, *virtual pat on back* ... now back to work!
Work on new game
Last week was Thanksgiving, so we gave our fingers a welcome break from the hustle-and-bustle of the keyboard world. But we didn't take a break from game design!
We started brainstorming ideas for our next game. This is an exciting phase in game development because we can let our imaginations run wild with ideas small and large, many of which we probably can't realistically get done in our time frame. But it is still important for us to bring out all of our ideas in the early phases of game design. This way, we can take all of our ideas, ask ourselves "What is feasible given the amount of time we have?", and begin chiseling away at it until a real do-able game starts to emerge.
Chiseling away until we see our game underneath the layers of ideas!
Our next game is going to be much cuter than our previous game Snavi. Mary has started designing our next character, and based on the early prototype, we are thinking about naming her "Pumpkin" :-)

Our loveable protagonist, affectionately known as Pumpkin.
I also got a chance to start working on our "area effect" system. In our game, different objects will affect the environment around them, such as temperature, water rate, light rate, etc. Not only that, but certain effects may overlap. For instance, you could have an object heating up the air around it, and another object cooling it down. In the middle of the overlap region, the temperature should be the average of the temperatures around it.
I managed to get the prototype working fairly quickly. In the below GIF, the red bubble is a 100 degree F zone, the white bubble is a 32 degree F zone, and the blue bubble is a .75 M/S water rate (example is heavy rain or something...although that's a lot of rain!).

As Pumpkin walks through each environment, her stats change based on the environmental manipulators' stats.
Unity MonoScript shenanigans
For our next game, I have been experimenting with an idea to have XML elements loaded at game startup dictate which Unity components get attached to instantiated game objects during initialization. I also wanted us to have some level of control in the Unity inspector over which scripts are actually used for the components depending on which XML property is used.
This lead me to the Unity MonoScript object!
I'm going to write a full tech tip on MonoScript in the near future, stay tuned!
But to give a brief summary, MonoScript objects are basically objects that represent a script type, not a instantiated script itself. The are also fully serializable for inspector view! This allowed me to have an inspector field where I specify which script I want to instantiate at runtime without actually requiring an object of that script instantiated in our scene first!

Inspector field specifying a script that I want to instantiate as a component, it's a MonoScript type.
Follow us on Twitter to get updated when we publish the MonoScript tech tip!
For this feedback Friday, we reviewed a demo of an upcoming game Dissension by @DisguisedGames. We LOVE pixel point-and-clicks, and this game shows great promise! The atmosphere, the music, and the beautiful pixel art left us wanting more, so we can't wait to see the full game! Below are some of the screenshots during our playthrough. Definitely check out the game on itch.io and leave the developer your feedback!


One thing that stood out was that the inventory system in this game was very unique. Instead of a typical "slot-based" inventory, you actually get a bag and real pockets where things fit. This helped with the immersion and honestly I would like to see more games with this style (at least in games where this type of system makes sense - not all games should, but for this one it definitely worked well).

Awesome inventory mechanic
Dissension by @DisguisedGames is available as a demo on itch.io here, check it out!
Interesting Links
Over the past week I discovered the fabulous YouTube series "Clark Tank" (see the playlist here). They go into deep dives on current trends in the industry and such. It's very useful for research for figuring out what type of game would do well in the current market!
While watching that series, they were discussing a new site called Game Data Crunch (https://www.gamedatacrunch.com/). It's a tool for selecting various tags / genres of games and seeing all the public data on them in a curated manner. I used it to determine how crowded the market is for our upcoming "cute"/"UwU" casual game. It was super helpful! I was able to see all the released titles on the charts, how many reviews they have, and a bunch of other meta-info. I highly recommend it!
That's it for this devlog! Have an amazing week!

Finishing up Snavi
This week was the final push to our debut iOS release of Snavi! Mary finished the beta testing and bug finding, Billy fixed up some last-minute issues and glitches, and Snavi is almost wrapped up and ready to ship!

We are so excited for this release! This is our first mobile release and we are ready to give it out to the world. The release will be a free release, no ads or monetization. We decided long ago that our first game would be completely free. We really want to give back to the community and get feedback from the community.

That being said, last minute release issues were not just game-related. We had to get everything up on the Apple App store which took longer than expected. For the most part it was smooth. Upload the app descriptions, titles, names, etc.
Then came uploading the dreaded app preview images.
Apple apparently requires you to upload the images for all of Apple's different iPhones/iPads and various screen sizes. I think the intention is that you take the image screenshots natively with each type of Apple phone (iPhone X, iPhone 12, etc) and the dimensions and preview images will be perfect. Buuuut... we are a small studio and I'm not a big enough Apple fan-boy to own all their phones and iPads, so I wasn't able to provide perfect matches for every platform.

So many image preview sizes =_=
But I winged it! Fortunately, apple will allow you to automatically scale some of the variations. You can upload just one version (say a 6.5" version of the images) and Apple will automatically scale/use those with lower but compatible platform resolutions. But the problem is .. I don't have a 6.5" phone, so my images wouldn't be scaled to some of the larger models. I did have a iPhone X, so I had to manually scale/resize my images to meet the 6.5" requirements (and other variants). Apple requires the input image resolution to be pixel-perfect match with the phones' resolution.
To scale these images, I used my trusty Gimp and applied some image scaling to the iPhone X images. Then I pulled out my trusty iPad mini (from 2014), and did the same procedure for iPad previews.
All-in-all, it took a good day to get the iOS app store information filled out. Next up we will do the Google Play store. From what I hear, that's an even more involved process. Yay.
Feedback Friday
We participated in #FeedbackFriday on Twitter! We put out a tweet asking the community for games they would like us to review/test over the weekend to provide feedback.
We were super excited to be participating in this and hopefully will expose us to more games!
Game Dev Masters
First up was an upcoming 2021 pre-release game by @hulgarth called Game Dev Masters. The game looks to re-imagine the Game Dev Tycoon type game with fresh 3D graphics / effects and some new twists on game play.
When Mary and myself opened this up, I immediately felt connected to the background music and style. The game was light-hearted and inviting, and when combined with the character select screen, provided a quirky and enjoyable experience. Something about the avatar dancing away to this background music really worked!
Go check out the game on Itch.io at https://hulgarth.itch.io/gdm.
The developer told me that they are planning to release this for Early Access on Steam by June of 2021, but until then you can test out early pre-Alpha updates on their Itch page (linked above).
Below is an image of our in-game developer working hard on her upcoming erotic / idle game (rated E for Everyone). :-D

Gypsum and The Travelers
Here is another cool game tweeted to us by @made_bear. They are making a new NES game (yes, that NES). The colors really create an atmosphere of being lost in a dark forest, and it looks great with the NES color palette. We're looking forward to playing it!
Other cool things
Here are some random links I came across this week.
Using 3D animation/rigging for 2D sprites.
I spent a bit of time doing some technical research on the graphics in our next game Arthur. The game will be a pixelated aesthetic, but will be modeled in 3D. While going through the Reddit forums, I found an interesting link.
Someone is building a tool to do 2D sprite animations using 3D rigging / animations in Unity. This looks really cool and we'll definitely be looking into something similar for Arthur.
Toon Shading Tutorial in Unity
We found this really well-written toon/cell shading tutorial for Unity. I actually went ahead and followed it and implemented my own toon shader in my test Unity application.
You can follow the author on Twitter @roystanhonks
That's all for this week! We are wishing you and your families a Happy Thanksgiving!


